A desk keyboard with crumbs, dust and a sticky spill can be cleaned in stages. Here is how to clean a keyboard by starting with the gentlest dry step and escalating only when keys stay grimy.
Quick answer: Power the keyboard down, shake out loose debris, then brush and use short bursts of air. Treat sticky keys with a swab and alcohol, and wipe key tops with a lightly damp wipe. Pull keycaps only as a last resort.
This routine suits a standalone keyboard. For a built-in one, see how to clean a laptop. For wider routines, the household cleaning tips hub collects related guides.
Before you start
The first step is always to switch the keyboard off. Keebs For All advises powering the keyboard down before any cleaning. For a wired model, unplug the cable. For a wireless one, switch it off and take out the batteries if they are removable.
The tools are cheap. The same guide prices disposable compressed air cans at $6 to $15, and soft brush sets at $5 to $15. You also need:
- Soft brush: a soft-bristle brush for dust and crumbs. Anti-static (ESD-safe) brushes are the better pick when you clean near the circuit board.
- Cotton swabs: these reach between switches and key edges without leaving a lot of liquid behind.
- Isopropyl alcohol: for sticky residue and disinfecting. It goes on a cloth or swab, never straight onto the keyboard.
- Lightly damp wipes: for the key tops only.
Rung one: shake and brush
Dry removal comes first because it needs no liquid and often fixes most of the problem. It is the right start for a keyboard that is only dusty or crumby.
- Tilt the keyboard at a 45° angle and shake it gently to loosen debris, as Keebs For All describes.
- Hold the soft brush at a 45° angle and sweep along the gaps between rows to pull crumbs and dust out.
- Brush from the centre of the keyboard outward so debris falls clear instead of settling further in.
- Tap the keyboard on its side over a table and brush again.
This sweep works without removing a single key. If keys still feel gritty after brushing, move up to air.
Rung two: compressed air
Compressed air is workable on a keyboard when used in short bursts. The Keebs For All guide recommends short bursts so dirt is not pushed further into the switches and moisture problems are avoided. A longer blast mainly risks driving crumbs deeper under the keys.
Do this after the shake and brush, so loose material is already out of the way. Move the nozzle slowly along each row.
If you do not want a can, UVI’s keyboard FAQ suggests a brush or a hair dryer on cool mode instead. Use the cool setting only, because heat is not part of this routine.
When the keyboard looks clear but one key still catches, check that it is seated properly. If dust sits under the switch, a short burst of air or a swab usually clears it.
Rung three: sticky keys and spills
A sticky key needs a liquid cleaner, but only a very small amount of it. Use isopropyl alcohol on a cotton swab, applied to the edges of the key and the visible gap around it. UVI says alcohol is fine when applied with a cloth or swab and never poured directly.
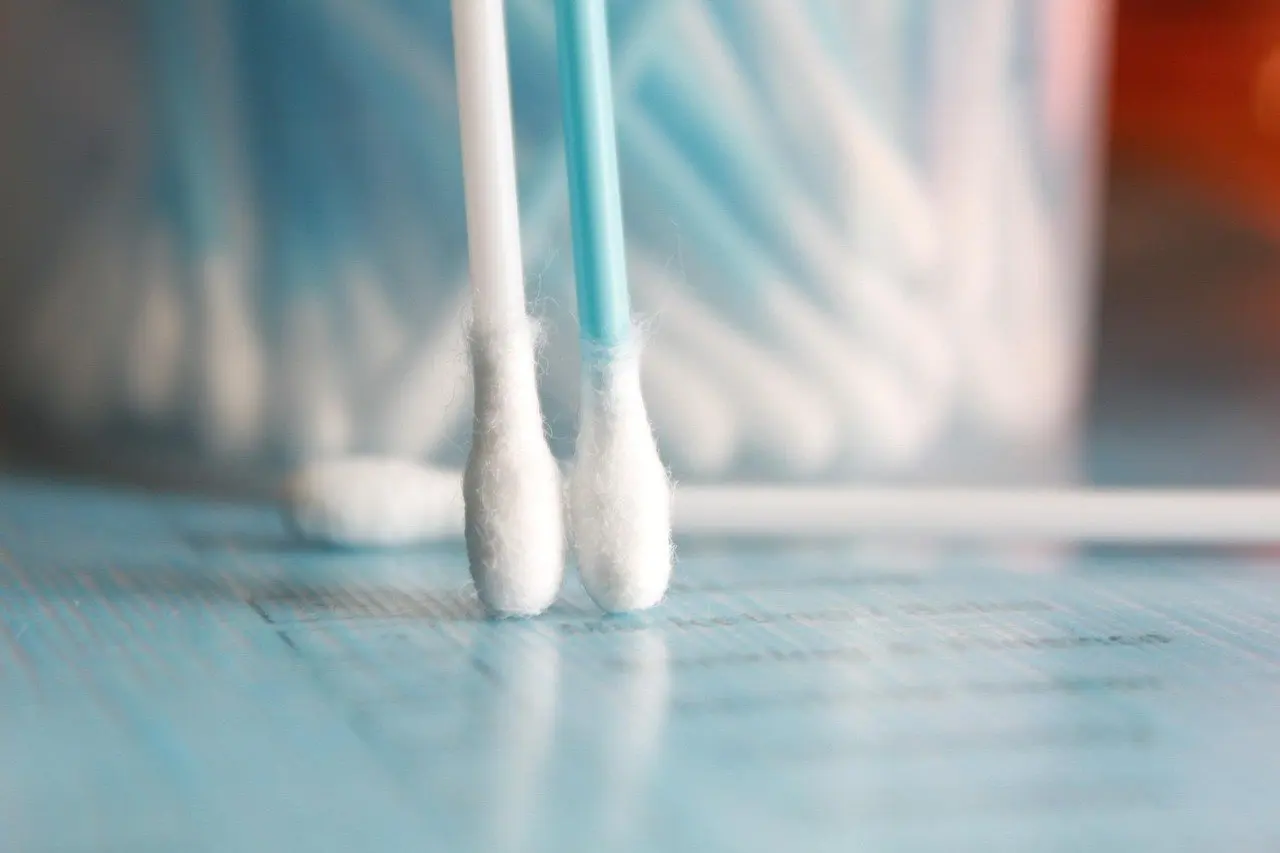
- Dip the swab, then press it against a clean cloth so it is damp, not wet.
- Run the swab around the edge of the sticky key, then press the key a few times to work residue loose.
- Swap to a fresh swab as soon as it picks up grime, so you do not spread it.
- Repeat on neighbouring keys that feel tacky.
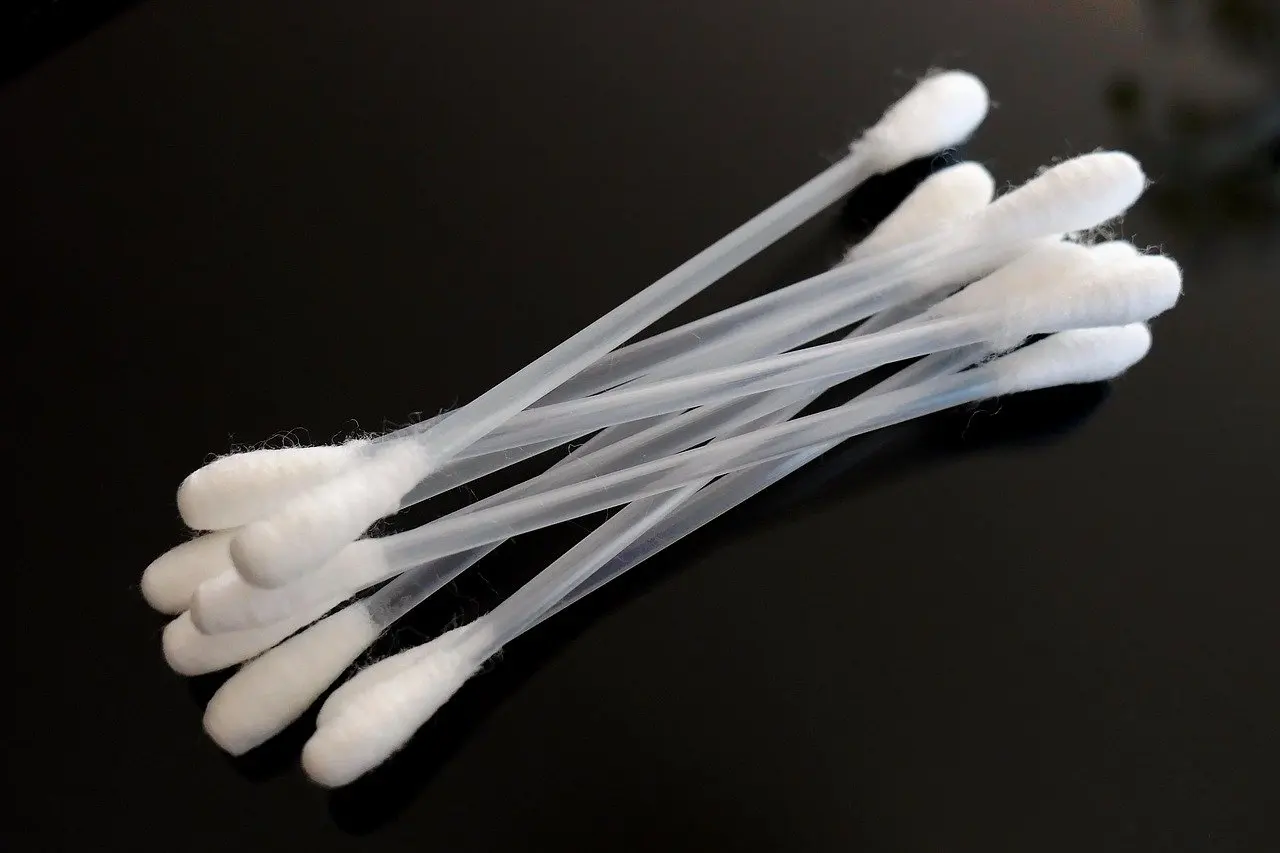
Swabs also reach between switches and inside keycap stems, where grime tends to build up. Without pulling keys, you can only reach the outer edges, so deep stickiness may need the last-resort step below.

Let the keyboard air-dry for at least two hours before reassembling and powering it on, per Keebs For All. That gives any trace of liquid time to evaporate.
Alcohol is not a free pass for every keycap. High concentrations may discolour or damage ABS keycaps, while PBT keycaps handle alcohol well. If you do not know the plastic, test a swab on a rarely used key first and keep the liquid light.
Rung four: disinfecting the key tops
Disinfecting is a surface job on the key tops, and it should come after dust and sticky residue are gone. Wiping over crumbs only smears them.
Wipes are acceptable only if they are lightly damp, and nothing should be dripping wet, according to UVI. Wring out a wipe that feels wet before it touches the keyboard. Wipe each key top and the exposed edges, moving from the top row down.

Isopropyl alcohol on a cloth or swab is the other supported disinfecting route. Glass cleaner and vinegar are not recommended. UVI points to isopropyl alcohol or mild soap instead.
For the wider picture, including desks, mice and phones, read how to disinfect electronics.
Last resort: washing the keycaps
Only escalate to this step if the earlier rungs leave keys grimy or sticky. Pulling keycaps is the only way to reach switch tops and stems. Water is for the keycaps alone. UVI is explicit that the case and electronics must never get wet.
- Dish soap soak: Keebs For All describes lukewarm water with a few drops of dish soap for 10 to 30 minutes. This is the standard choice for greasy keycaps.
- Denture tablet soak: the same guide says this needs a longer soak of at least six hours, and describes it as cleaning and sterilising keycaps. It suits keycaps that also need disinfecting.
Drying is where this step goes wrong, because trapped water causes damage. Keebs For All says to air-dry soaked keycaps for 6 to 12 hours with the stems facing up. UVI gives a longer window for washed keycaps, at least 24 hours and ideally 48. If you are unsure whether the caps are dry, the longer window is the safer one.
A stopping point matters here. Ultrasonic cleaners cost $60 to $90 and need fully disassembled switches, because water trapped inside can cause damage. If you are not willing to take the switches apart, skip that tool and keep to hand cleaning.
How often to clean
UVI suggests a quick clean about once a week and a deeper clean every few months or after spills. The weekly job can be the brush sweep, which Keebs For All frames as a five-minute routine with a soft-bristle brush held at a 45° angle.
Keep a spill in mind: clean it straight away, because the full sequence above is easier before residue dries. A keyboard in a dusty room or a kitchen will need the weekly routine more reliably.
Cleaning ladder at a glance
| Rung | Tool and condition | Planning use |
|---|---|---|
| Shake and brush | Tilt at 45°; soft brush; five-minute weekly sweep | Start here for dust and crumbs |
| Compressed air | Short bursts only | Use after brushing for debris under keys |
| Swab and alcohol | Damp swab, never poured; dry at least two hours | Use for sticky keys and spills |
| Lightly damp wipe | Damp, not dripping | Use for disinfecting key tops |
| Keycap soak | Dish soap 10 to 30 minutes; denture tablet at least six hours | Last resort; allow long drying |
These figures come from Keebs For All and the damp-wipe rule from UVI.
Frequently asked questions
Can I use glass cleaner or vinegar on a keyboard?
No. UVI does not recommend either and points to isopropyl alcohol or mild soap, applied with a cloth or swab.
How should I clean an RGB keyboard?
Use soft brushes and compressed air, and apply alcohol only to a cloth or swab, per UVI. Keep the liquid off the lighting and the case.
Does a keyboard cover help?
Yes, especially in dusty rooms or kitchens. UVI pairs a cover with weekly wipe-downs to keep dust from building up.
What if a key still feels stuck after cleaning?
Check that the key is seated correctly. If dust may be under the switch, clear it with a burst of air or a swab, as UVI advises.