Household cleaning tips begin with the maker’s instructions: follow the manufacturer’s care guidance, power down electronics before touching them, and put any cleaner on the cloth rather than spraying the device.
Picture a living room where the TV is smeared with fingerprints, the desk keyboard is gritty with crumbs, and a pile of laundry waits beside the washing machine. The jobs look different, yet one short routine fits all of them: check the manufacturer’s instructions, start with the gentlest method, and keep liquid away from openings. The sections below turn that routine into ordered routes by goal, so readers can go straight to the job in front of them.
Where to start by goal
The right starting point depends on what needs cleaning and how much risk a mistake carries. Electronics carry the most risk from liquid, so they get the most caution. Laundry and fabric jobs depend more on labels than on technique. Pick the route that matches the problem.
- Smudged screens. Start with the TV method below, then read the dedicated guides on how to clean a flat screen tv and how to clean a computer monitor. Portable machines have their own routine in the guide on how to clean a laptop.
- Dirty keys and mice. Go to the keyboard section, then to the full guide on how to clean a keyboard if the debris sits deep between the keys.
- Germs rather than grime. Cleaning and disinfecting are different tasks. The disinfecting section below points to the guide on how to disinfect electronics and to the product comparisons.
- Anything involving a cleaning product. Read the label section before opening the bottle, because the label sets the limits for surfaces, dilution and ventilation.
- Laundry and the washing machine. The laundry section covers the appliance, bulky items such as pillows, and shoes.
Anyone short of time should do the electronics route first. Those are the items where an unplugged device, a damp cloth and a light touch prevent the expensive mistakes.
Rules that apply to every job
Manufacturer care instructions outrank any general advice, including the advice on this page. A cleaning-service guide to TV screens states the principle plainly: unless the manufacturer’s care instructions say otherwise, a microfiber cloth, distilled water and mild dish liquid are all a flat screen needs. The same logic extends to every device and appliance in the house. If the manual names a product or forbids one, the manual wins.
Power down first
Electronics should be switched off and disconnected before any cleaning begins. The TV guidance says to unplug the set as for any electronic device, and keyboard and mouse guidance says to power off and unplug, or remove only the batteries the model’s directions permit. The qualifier matters: not every battery is meant to be removed, so the model directions decide.
Cleaner goes on the cloth
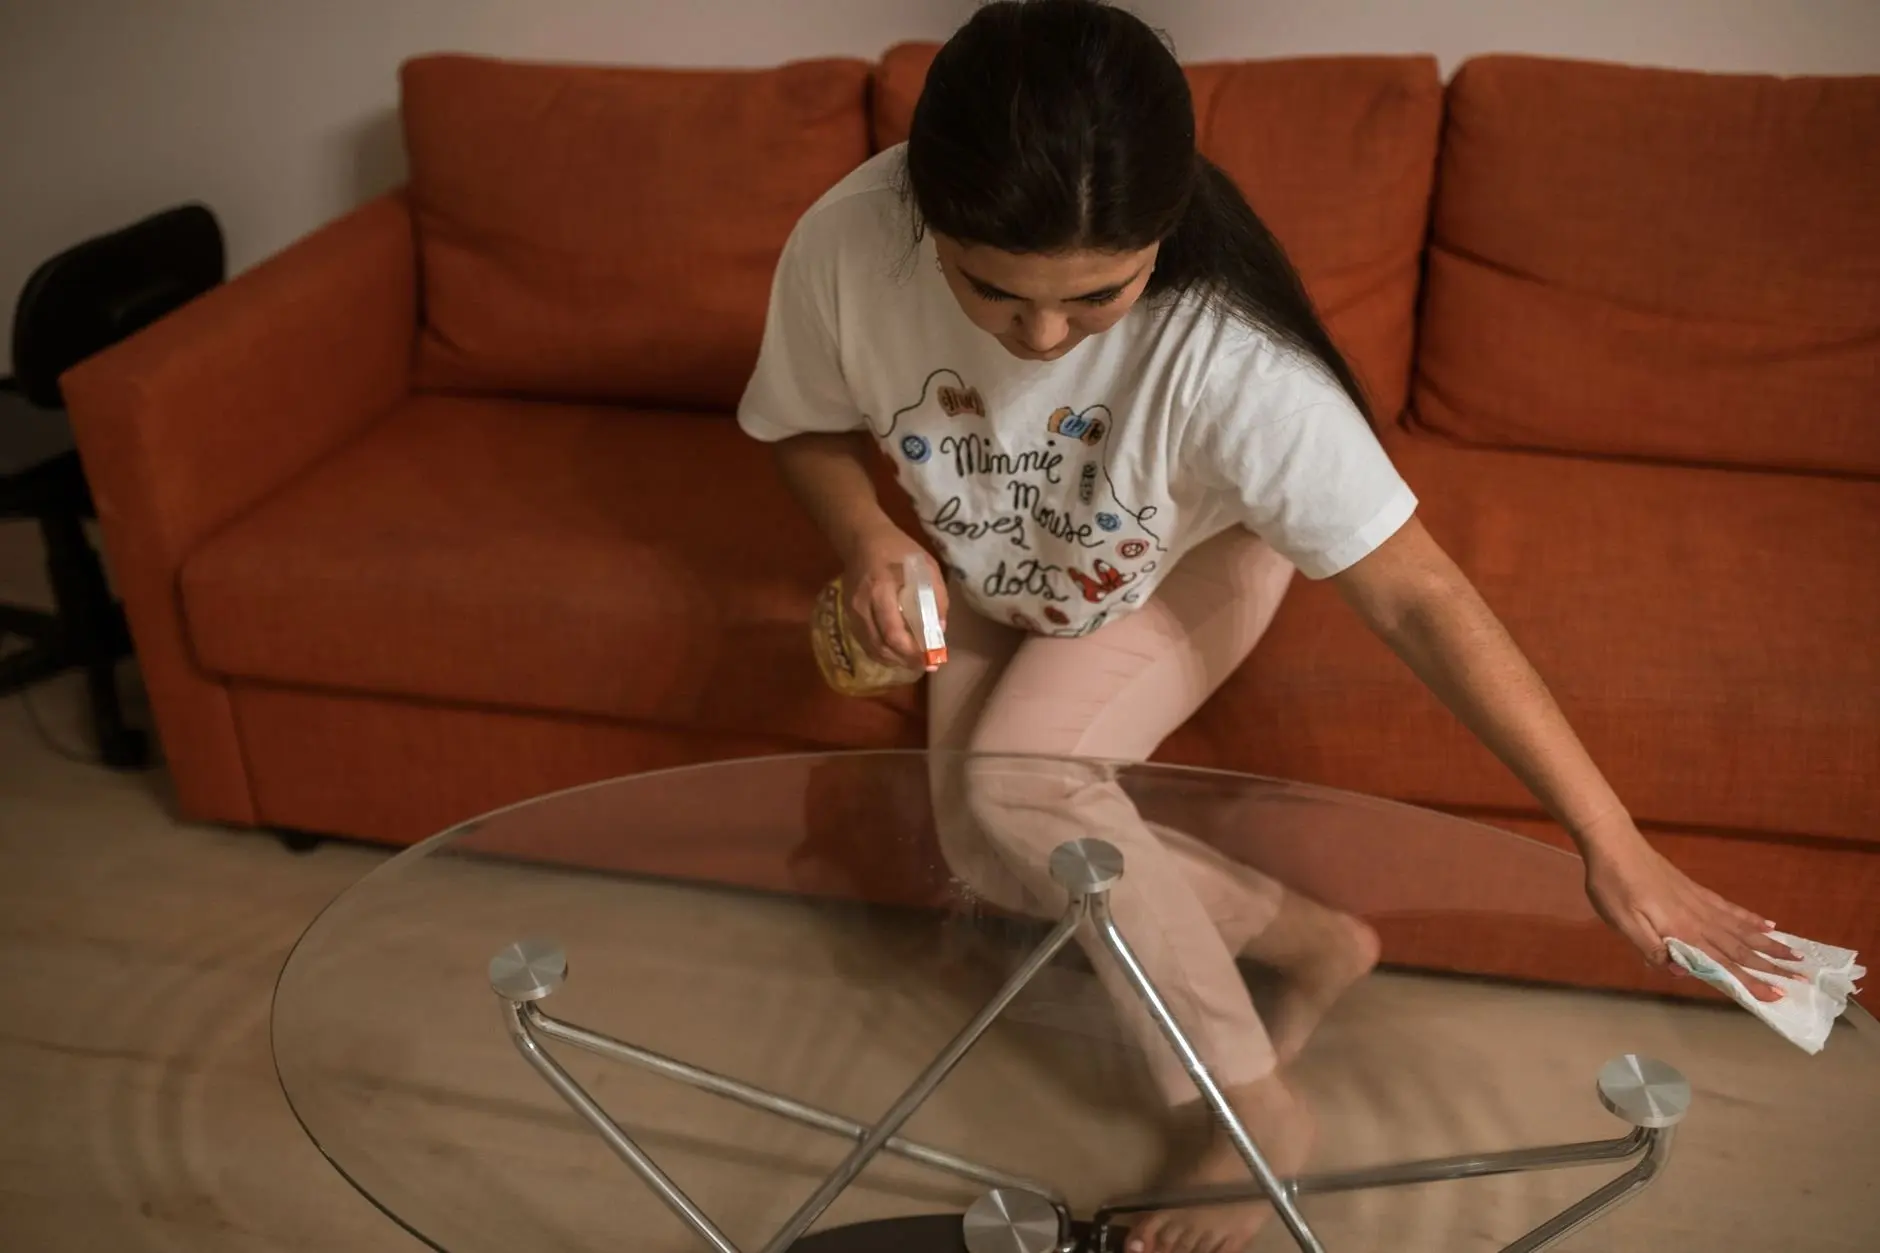
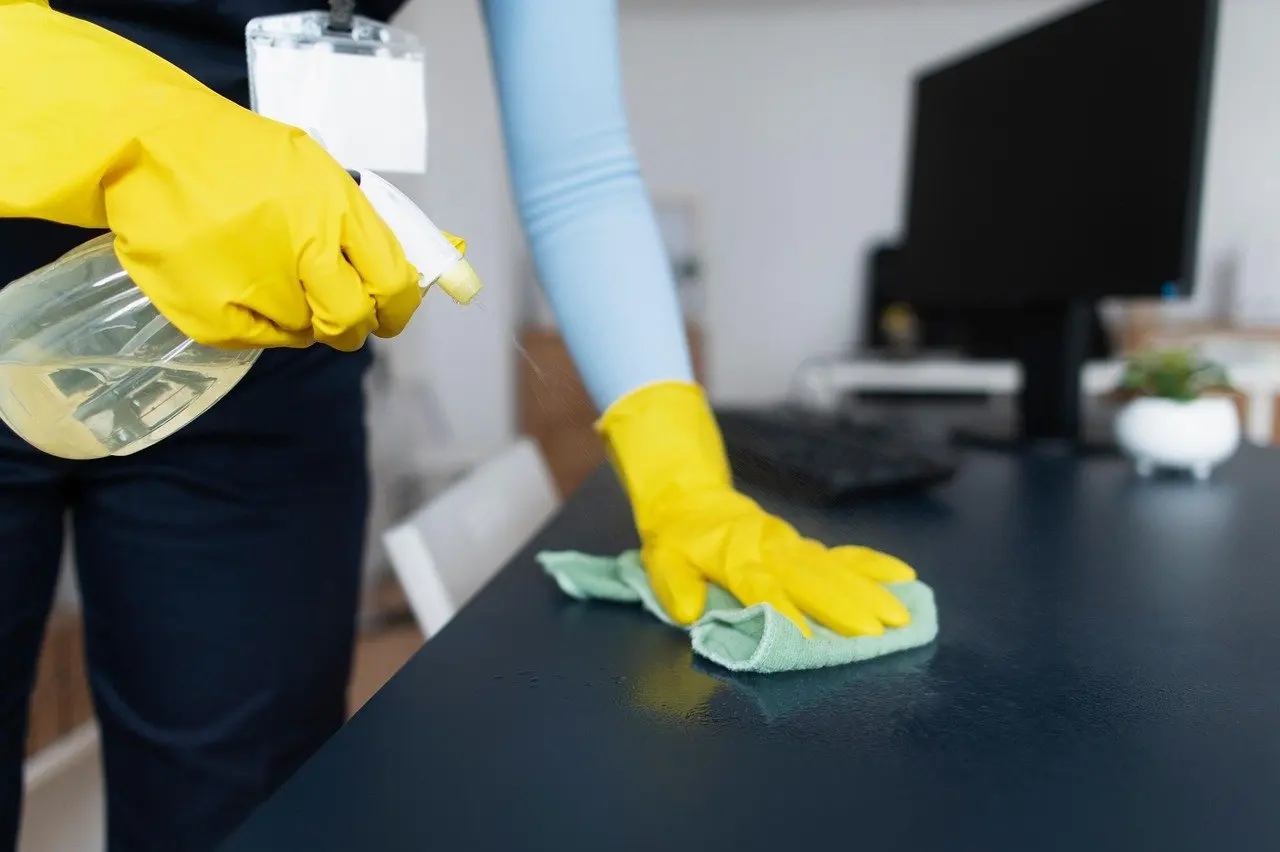
Both the TV and keyboard guidance give the same instruction about liquid. Spray the solution onto the cloth, never directly onto the screen, and on keyboards apply only a small amount of a compatible cleaner to the cloth, and only if the maker permits it. A sprayed device lets liquid run into gaps and edges, while a lightly dampened cloth keeps moisture where the hand can control it.
Mild soap and water as the baseline
Mild dish liquid in distilled water is the gentlest wet method in the guidance supplied for screens, and soapy water also features in the keyboard advice for removed keys. That makes soap and water a sensible default for hard, washable household items, with stronger products reserved for jobs where the label and the manufacturer allow them.
Screens: TVs, monitors and laptops
A flat screen needs only a microfiber cloth, a light touch and, if water is needed, distilled water with a little mild dish liquid. That is the whole kit according to the TV-cleaning guidance, again with the proviso that the manufacturer’s instructions come first.
The TV routine in order
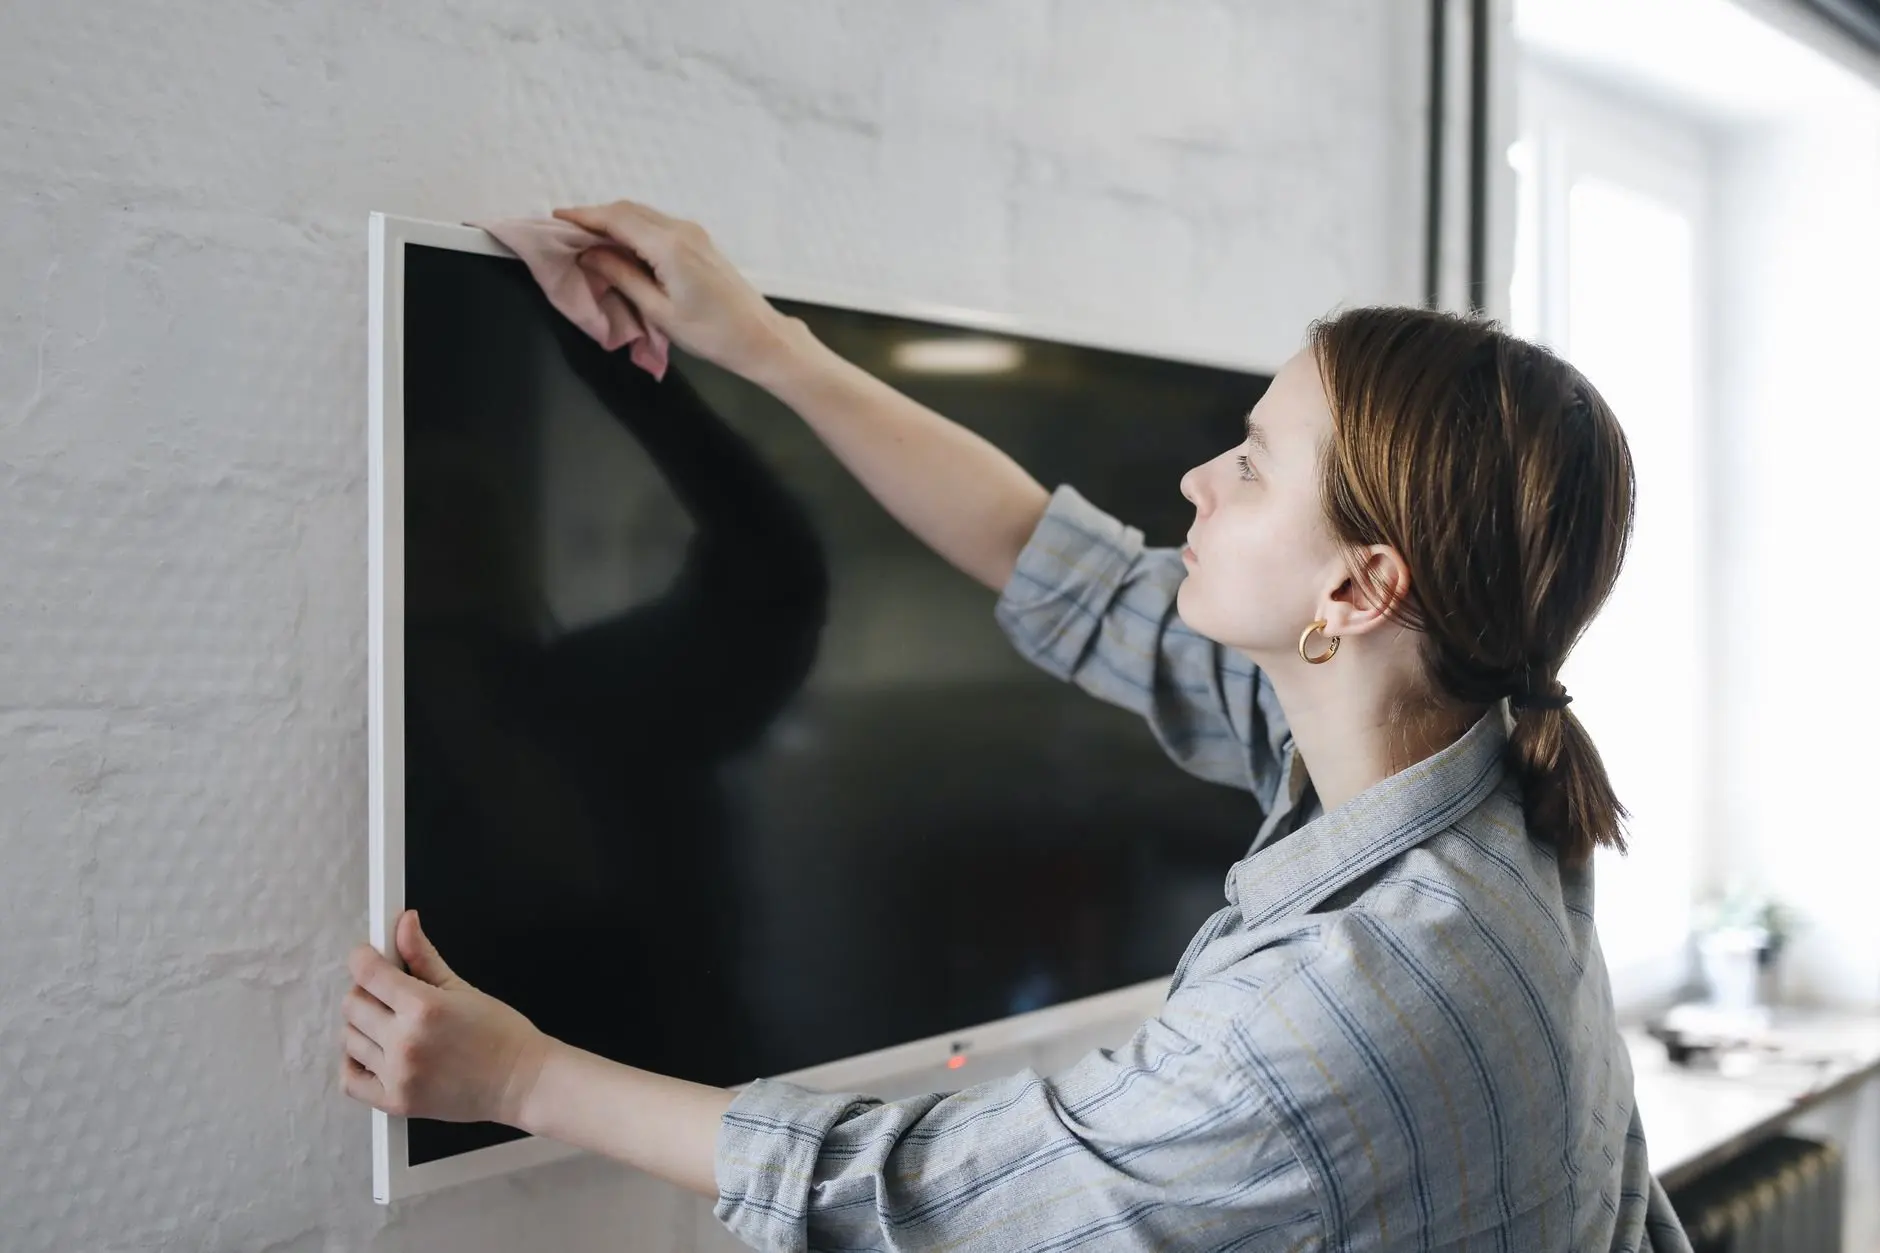
- Unplug the TV and let the screen sit in its normal position.
- Dampen a clean microfiber cloth with the distilled water and mild dish liquid mixture. Do not spray the water onto the screen.
- Wipe from top to bottom in a circular motion with light pressure.
- Finish with a dry microfiber cloth to take off any remaining moisture.
The reasoning behind each step is practical. Light pressure protects the panel, and a top-to-bottom path means drips and streaks travel in the direction of work already done. The final dry pass leaves no damp film on the surface.
Monitors and laptops
Desk monitors and laptop screens share the TV’s basic constraints: power off, damp cloth, light pressure. Their differences lie in size, coatings and hinges, which the dedicated guides handle. Laptops add a keyboard and trackpad to the job, so the keyboard rules in the next section apply there as well. Anyone unsure whether a screen has a special coating should check the manufacturer’s guidance before using anything beyond a dry microfiber cloth.
Keyboards and mice
Keyboards trap debris in places a cloth cannot reach, so the order of operations matters: loose material first, surface wiping second, liquids last and sparingly. The sequence below follows a five-step keyboard guide and a safety-focused keyboard and mouse guide.
- Shut the computer down and unplug the keyboard, or remove only the batteries the model permits.
- Turn the keyboard upside down and shake out the loose debris.
- Clear the remaining scrapings from the gaps without pushing them deeper.
- Wipe the surface with a cloth carrying a small amount of compatible cleaner, if the maker permits cleaner at all.
- Let everything dry completely, reconnect power or batteries only once it is fully dry, and then test.
Should the keys come off?
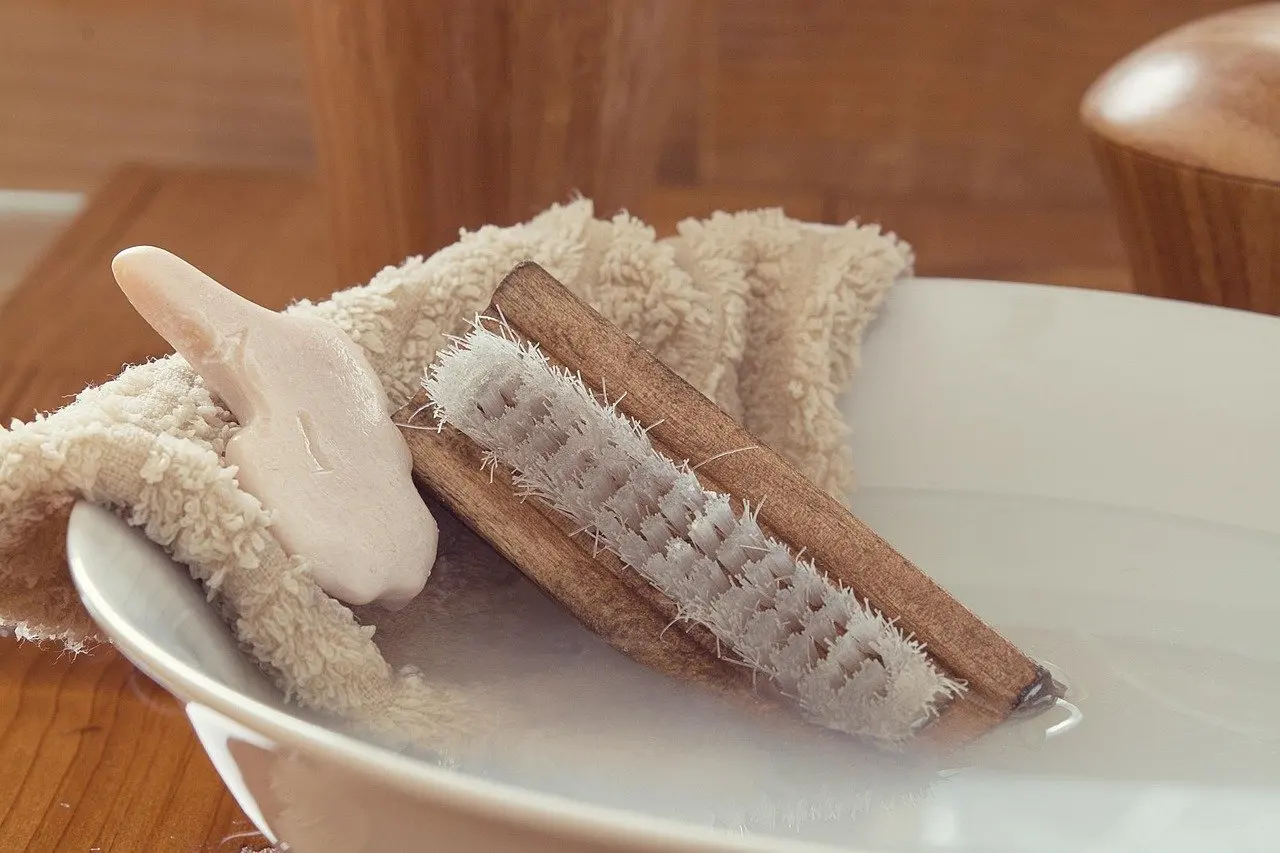
Guidance differs here, and the difference is worth understanding rather than smoothing over. One guide says to use a soft brush on accessible gaps and not to remove keycaps. Another describes lifting keys with a rounded, unsharpened tool such as a flat-head screwdriver or butter knife and soaking them in a small bowl of water with soap or rubbing alcohol before towel-drying. For most people the cautious choice is the first: brush the gaps and leave the keys in place. Removing keys suits only a keyboard whose manufacturer shows how to do it, or a keyboard that is already heavily soiled and not under warranty concern.
What to keep off a keyboard
Bleach, harsh solvents and abrasive cleaners are the products to avoid, because they can wear away key legends and finishes. The same guide points out that some keyboards, especially those with special coatings, carry their own cleaning recommendations, so the manufacturer’s page should be checked before any wipe-down beyond a dry cloth. The finish is what is at stake, and it does not grow back.
Screens and keyboards compared
The two most common electronics jobs use different tools, and the table below sets them side by side so the right method is easy to pick.
| Item | Suitable cleaner | Avoid | Planning use |
|---|---|---|---|
| Flat-screen TV | Microfiber cloth with distilled water and mild dish liquid, then a dry microfiber cloth | Spraying liquid directly onto the screen; heavy pressure | Quick weekly-style wipe-down with no special products |
| Keyboard surface | Isopropyl alcohol at 70 percent or higher on a cloth, or electronics-safe disinfecting wipes wrung out well | Bleach, harsh solvents and abrasive cleaners | Use when germs matter more than dust, such as a shared keyboard |
| Items with special coatings | Whatever the manufacturer’s guidance names | Any product the manual does not mention | Check the manual before the first wipe |
Screen figures come from a home-cleaning service’s TV guidance, and keyboard values from a keyboard-care guide.
The pattern across the rows is that the screen takes the gentlest liquid and the keyboard tolerates alcohol only because it is a hard, sealed-looking surface that must be wiped, not soaked. Whichever row applies, the choice follows the label, so an unfamiliar finish always sends the reader back to the manual.
Disinfecting without damaging devices
Cleaning removes dirt, while disinfecting is a separate step that needs a suitable product, and the product has to be one the device or surface can take. A sensible ladder runs from dry cloth to damp cloth to soapy water to alcohol to a disinfecting product, and each rung should be used only when the one below has not done the job.
Wipes for electronics
Electronics-safe disinfecting wipes work on keyboards as long as they are wrung out well. The words “electronics-safe” carry the weight there: a general-purpose wipe is not automatically suitable for a device. Readers who want to know how wipe types differ can read the comparison of disinfecting wipes vs sanitizing wipes, and the guide on how to disinfect electronics carries the wider routine.
Choosing between wipes and spray
Spray is awkward around electronics, because both the TV and keyboard guidance say to keep liquid off the device and apply it to a cloth. That alone tilts devices toward wipes or a cloth. Household surfaces such as counters have fewer constraints, and readers weighing the two formats can use the comparison of disinfectant wipes vs spray. For surface compatibility, the guide on what surfaces can you use disinfecting wipes on is the place to check before wiping something unfamiliar.
Alcohol strength
For wiping keyboards, the guidance specifies isopropyl alcohol at 70 percent or higher. That figure describes a minimum concentration in that guidance rather than a target to push as high as possible, and the same advice about a small amount on a cloth still applies. If a keyboard maker says no alcohol, the maker’s word overrides the figure.
Reading cleaning-agent labels
A product label is the safety document an ordinary household actually has. It tells the reader which surfaces the product is meant for, what the product is, and what precautions go with using it. The advice that follows from the supplied guidance is narrow but useful: apply a compatible cleaner to the cloth, only if the device maker permits it, and never spray the device itself.
Three habits make label reading work in practice.
- Match product to surface. A cleaner is “compatible” only when the label or the device manual says so. Electronics-safe wipes are described as such because ordinary products can be unsuitable.
- Treat “harsh” as a warning. Bleach, harsh solvents and abrasive cleaners are the products flagged as able to wear away legends and finishes, so a label that lists any of these deserves a second thought before it goes near a device.
- Do not mix the label with improvisation. If the label and a blog disagree, the label and the manufacturer’s page are the safer authority, because they describe the actual product and finish.
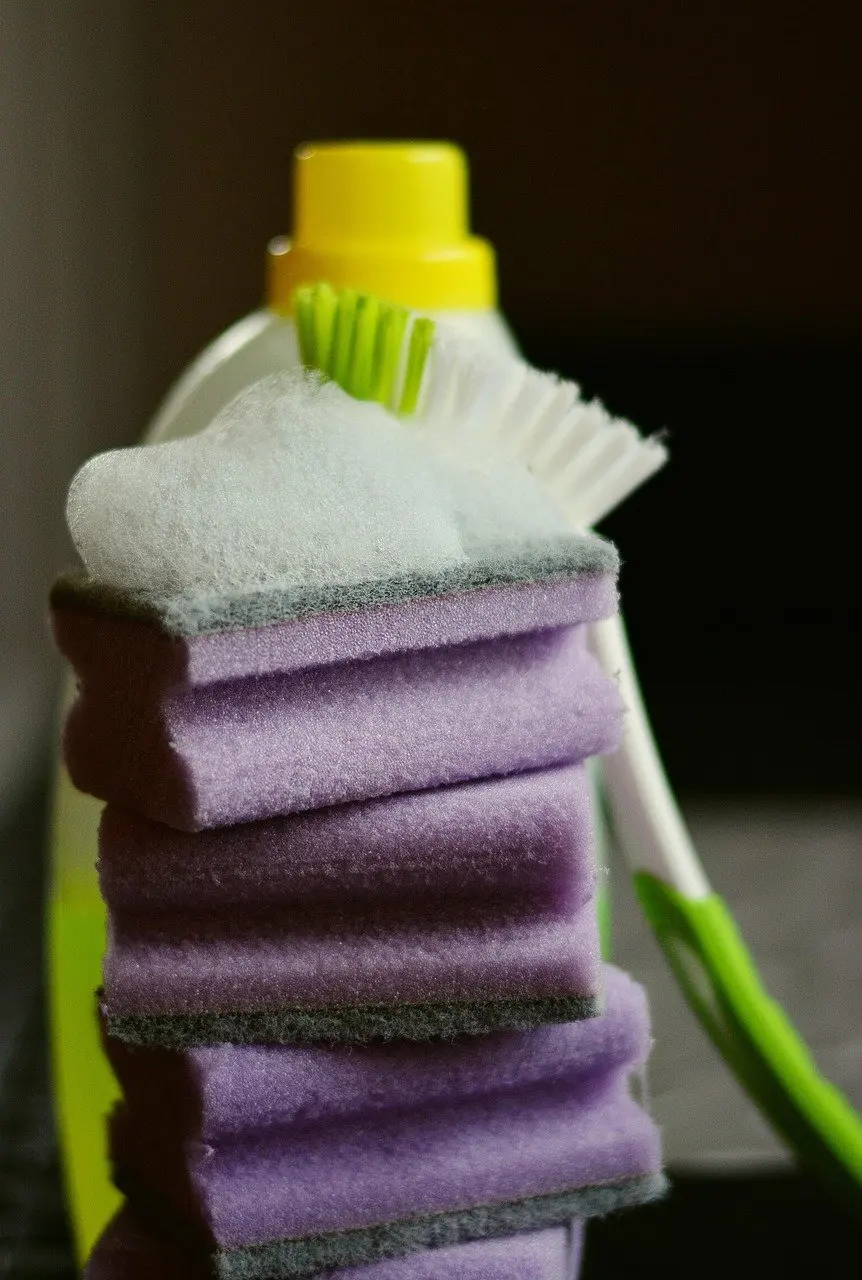
A household cleaning cupboard often accumulates more products than jobs. Cutting it down to mild dish liquid, a suitable alcohol or electronics-safe wipes, and microfiber cloths covers the electronics routes in this guide without needing anything more aggressive.
Washing machines and laundry
Laundry follows the same manufacturer-first rule as electronics, with the appliance manual and the care label on each item standing in for the TV maker’s instructions. The washing machine is the one appliance covered here that cleans other things, so its own upkeep and the limits it places on what goes inside both come from the manual.
The washing machine itself
Treat the washing machine’s manual as the instruction set for its own cleaning, including which products it tolerates. The caution that applies to screens applies here too: a stronger product is not automatically a better one, and a product that is wrong for a finish can do lasting damage. Keep any cleaning agent matched to what the appliance maker permits, and read the product label for what it is designed to do. The same manufacturer-first logic covers other household appliances, such as a dishwasher.
Pillows and bulky items
Bulky household items such as pillows are decided by their care labels. If the label allows machine washing, the washing machine’s manual then sets what the drum can accommodate. If the label says otherwise, no amount of cleaning enthusiasm should override it. A pillow that cannot go in the drum can still be spot-treated with mild soap and water applied sparingly to a cloth, in the same way that liquid is applied to a TV cloth rather than to the item.

Shoes
Canvas shoes respond to the gentle approach used elsewhere in this guide: a soft brush and mild soapy water, with the shoe’s care label deciding whether anything stronger or any machine cycle is acceptable. Brushing and wiping keep the wetting controlled, which matters for glued or padded construction. Whether a particular pair may go in the washing machine is a question for its label and for the machine’s manual, not a default.
Building a routine that stays gentle
Most of the damage in home cleaning comes from too much force, too much liquid or the wrong product, and the routes above are built to avoid all three. A short routine keeps jobs small. Keyboards sit at the more frequent end: a weekly brush, an alcohol wipe every week or two, and a deeper clean every few months, according to the keyboard-care guidance, with shared keyboards wiped more often. Screens and appliances can follow their manufacturer’s guidance and be cleaned when they look dirty rather than on a fixed schedule.
The decision rules that carry across every job are brief. Read the manufacturer’s guidance first. Switch devices off and unplug them. Keep the liquid on the cloth. Choose the mildest product that works, and move up only if it does not. When a source and a manual disagree, the manual wins.
Frequently asked questions
| Question | Answer |
|---|---|
| How long should a keyboard dry after a spill or wet clean? | The keyboard-care guidance recommends at least 24 to 48 hours before using it again, and power or batteries should be reconnected only once everything is fully dry. |
| Can a household vacuum clean a keyboard? | A full-size vacuum is too powerful and can pull off keycaps and small parts, so it is not a good choice for keyboards. |
| What can blow debris out of a keyboard? | A compressed air can or a hair dryer can blow loose scrapings out after the keyboard has been turned upside down and shaken. |
| How often should a keyboard be cleaned? | A weekly brush, an alcohol wipe every week or two (more often if the keyboard is shared) and a deeper clean every few months is the routine described in the guidance. |